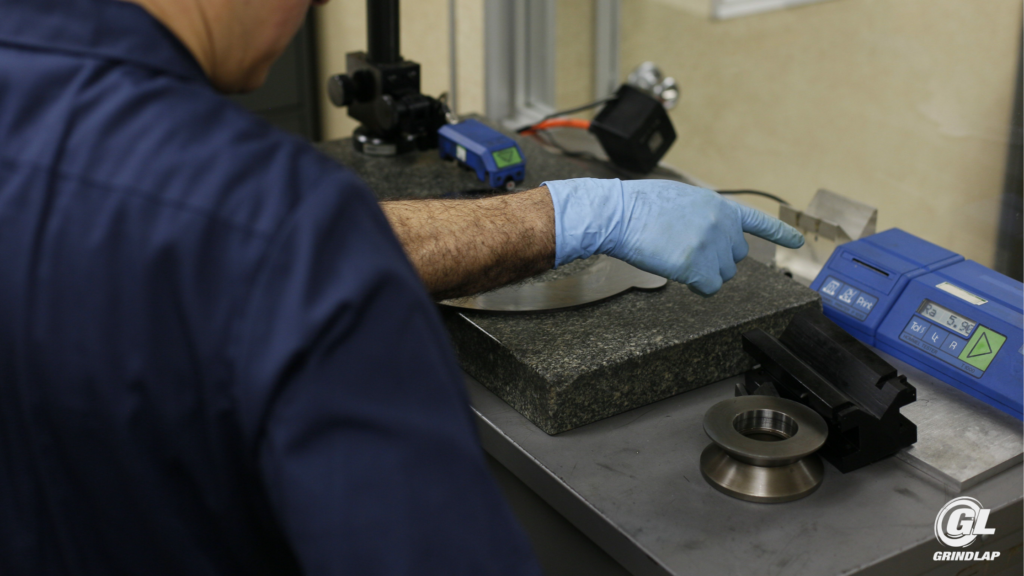
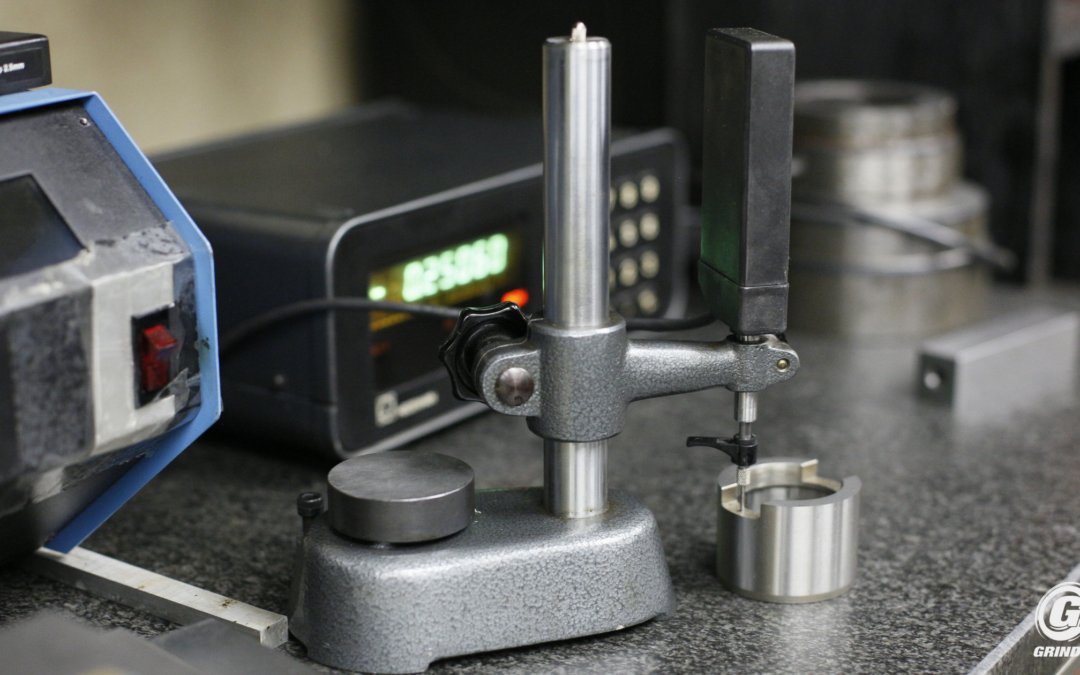
There are several common manufacturing measurement terms that may confuse the general public due to their technical nature or lack of familiarity.
Examples of Common Manufacturing Measurement Terms
Here are a few examples:
Tolerance: In manufacturing, “tolerance” refers to the allowable deviation from a specified dimension or measurement.
Micron: A micron, also known as a micrometer, is a unit of measurement used in manufacturing to measure the thickness or diameter of a material or component.
Surface roughness: Surface roughness is a measurement of the texture of a surface, typically expressed in terms of Ra (arithmetical average) or Rz (ten-point height).
Concentricity: Concentricity is a measurement of how well two or more features of a part or component are centered on a common axis. Concentricity is important for ensuring proper functioning of a product.
Runout: Runout is a measurement of how much a rotating part deviates from its intended path or axis of rotation. TRunout is important for ensuring smooth and reliable operation of machinery and equipment.
Tolerance: In manufacturing, “tolerance” refers to the acceptable deviation from a specified dimension or measurement.
GD&T (geometric dimensioning and tolerancing): In manufacturing, “GD&T” is a system of symbols and annotations used to specify the geometry, orientation, and tolerances of a part or product. This system is used to communicate precise manufacturing requirements between engineers, designers, and manufacturers.
Cpk (process capability index): In manufacturing, “Cpk” is a measure of a manufacturing process’s ability to produce parts or products that meet specified design requirements. This measure is used to evaluate the capability of a manufacturing process and to identify areas for improvement.

Overall, these are just a few examples of common manufacturing measurement terms that may confuse the general public due to their technical nature or lack of familiarity.


Recent Comments